
How to Make Your Fresh Cut Flowers Last Longer
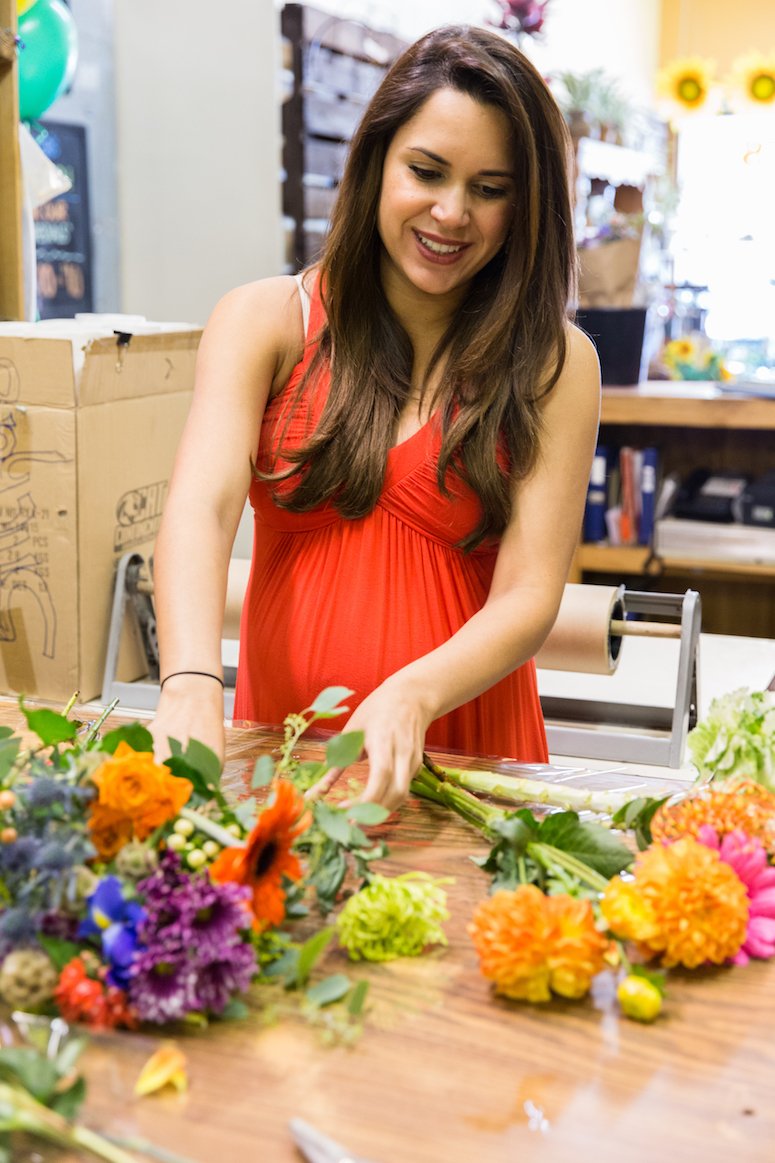
I love buying weekly fresh cut flowers. It’s such a fun way to bring a little extra cheer into your home! So when I was invited with a few other bloggers to Bobbie’s Flowers for a flower arranging class, I was all about it.
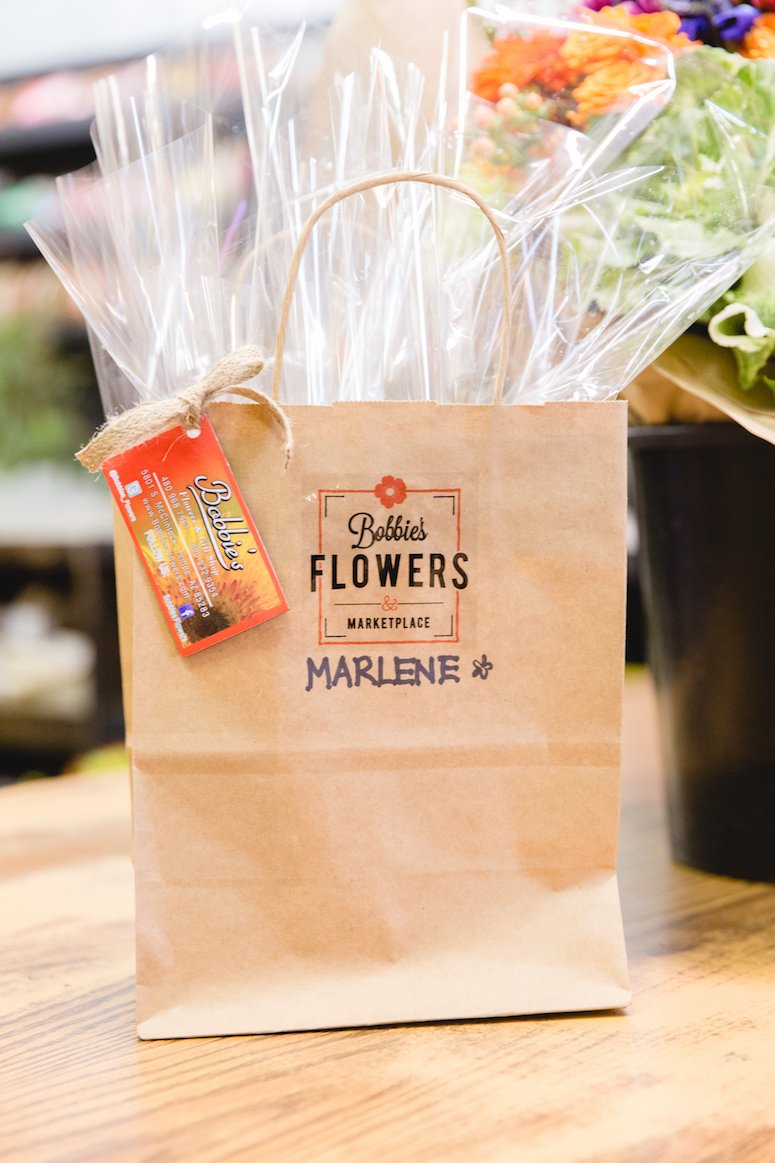
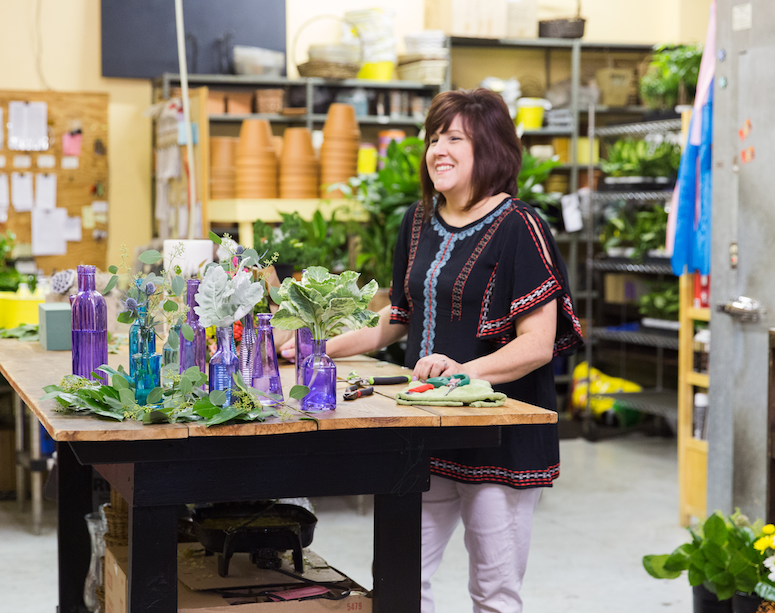
The owner, Paula, gave us some great tips on how to make your fresh cut flowers last longer. And it’s way easier than you’d think! We also learned how to arrange our own market fresh bouquet; read on for the easy tips on how you can do it too.
How to Make Your Fresh Cut Flowers Last Longer
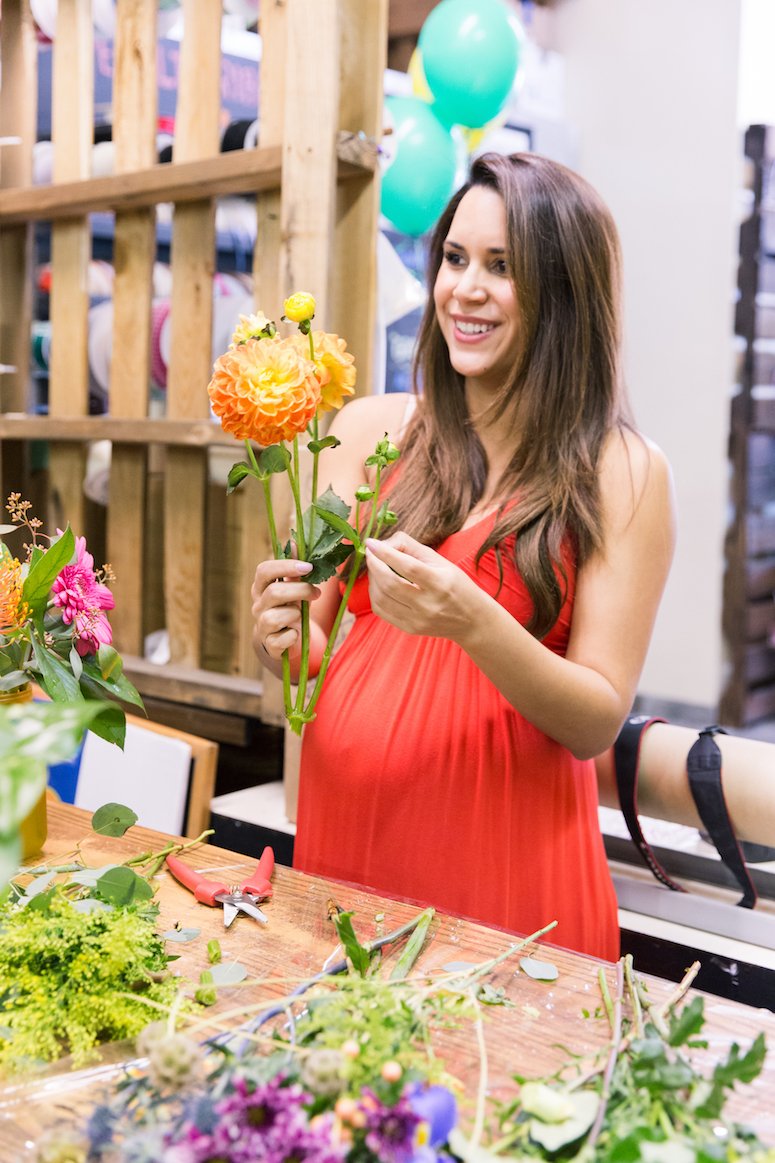
Trim Immediately
As soon as you get home, trim your flowers at an angle so they can absorb plenty of water. You should be able to see white stems when you do this. (As far as tools to use, check out these floral clippers).
Keep the Water Fresh
If you can, Paula recommends changing out the water daily. But since most of us are pretty busy, every other day is OK, too. This is something I hardly ever do and a great tip to help your fresh cut flowers last longer!
Stay Away From Direct Sunlight
You may immediately think of placing your flowers up against the windowsill, but direct sunlight will actually make your blooms wilt faster! Instead, look for a spot in your home that has natural lighting, without tons of sun raining down on your flowers.
Store in a Cool Place
It’s hot here in AZ and a lot of us turn the temps up when leaving the house for the day. But one surefire way to make your fresh cut flowers last longer is to keep them in a cool place! That’s why florists store flowers in the fridge and they stay fresh and beautiful for days.
Forget the Sugar, etc.
If you’ve ever googled tips for “How to make your fresh cut flowers last longer” a lot of people suggest concocting your own flower food with sugar and vinegar. But Paula says this isn’t necessary! Sugar will actually encourage bacteria growth in the vase, which nobody wants. If you’d like to feed your flowers, just use the included flower food pouch.
How to Arrange Fresh Cut Flowers
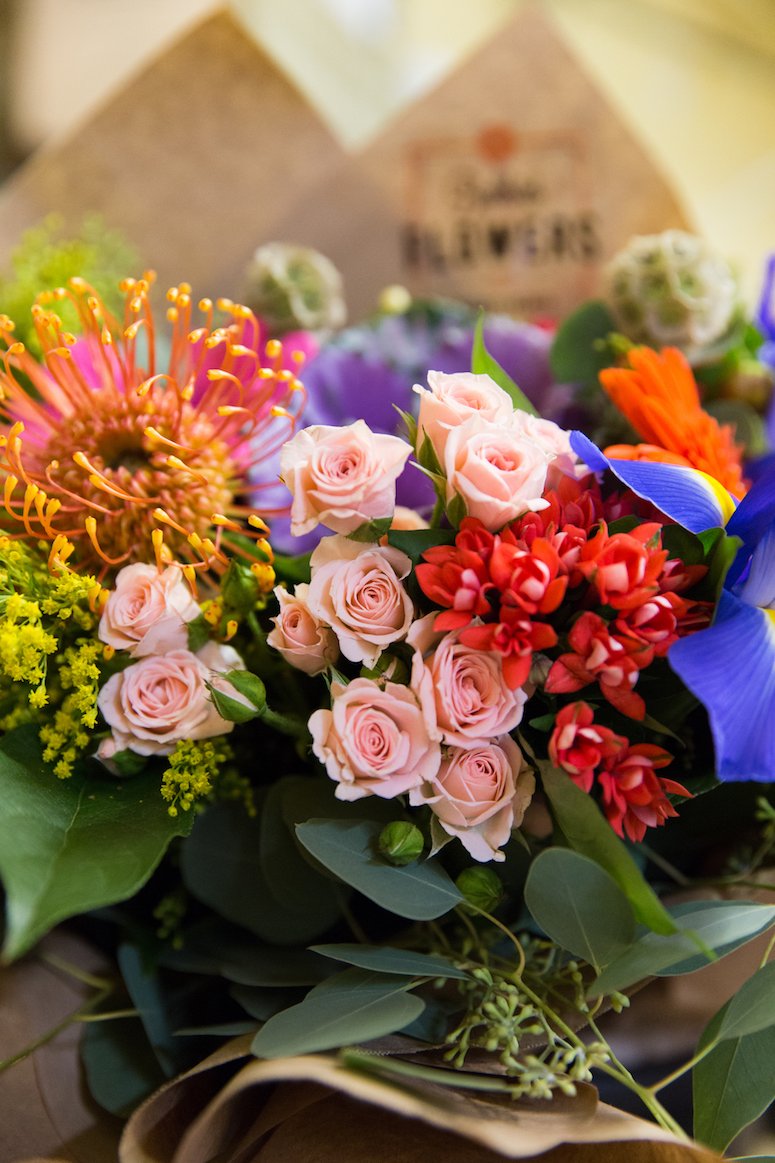
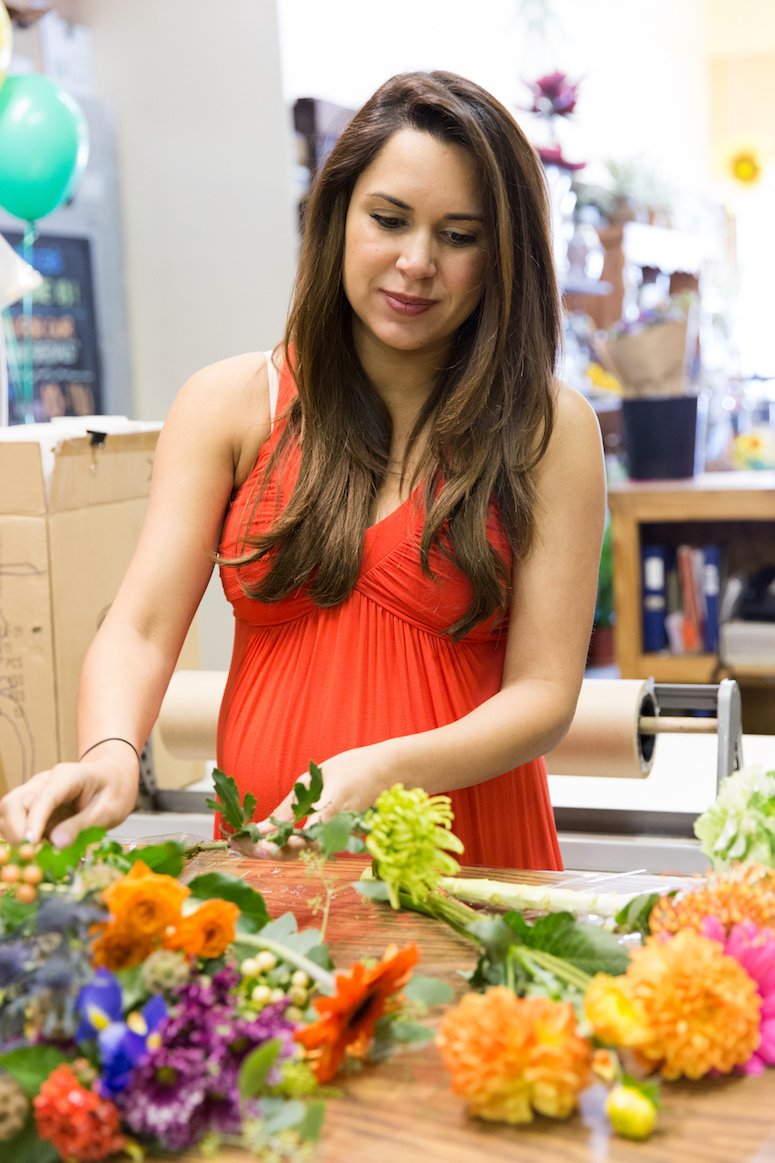
Aside from learning how to make fresh cut flowers last longer, we also got to arrange our own market bouquets! This was the most fun part, and I actually find it quite relaxing. I like to arrange my own bouquets at home but definitely am no expert. Here’s how you can arrange your own bouquet:
- Separate your blooms into four piles: Big flowers, filler flowers, greenery and smaller flowers
- Start with the greens first. Line up the flowers along the vase and use your table so you know where to trim. It’s always best to start small if you’re nervous about overcutting! The greens should be just peeking out over the base and no leaves should be in the water.
- Next, arrange your big flowers since these take up the most space.
- Add in your smaller flowers and finally your fillers. If you don’t end up using them all, that’s ok too!
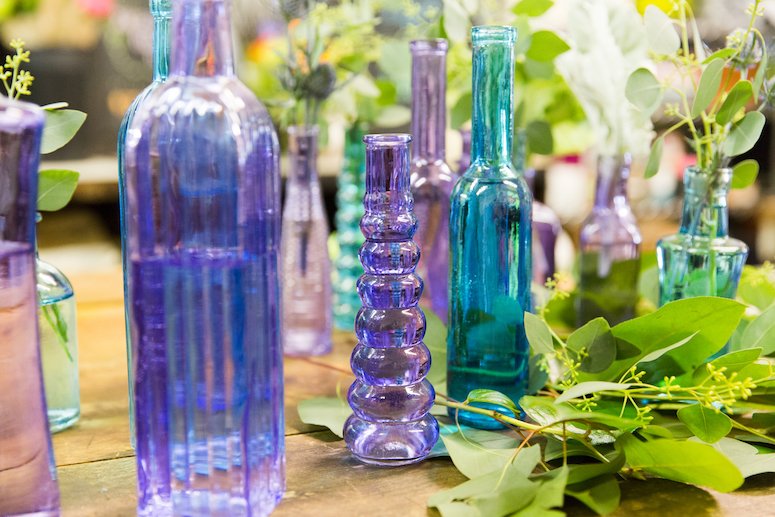
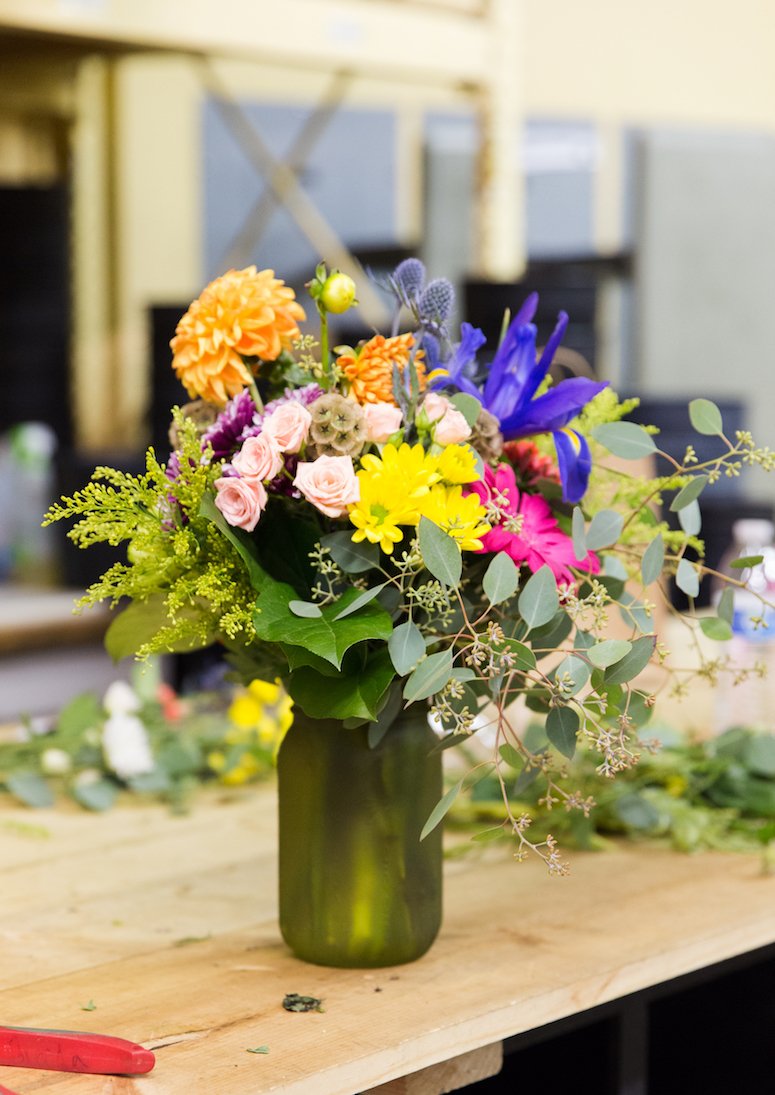
Also, get creative with your vases! From tiny thin vases to unconventional vases, flowers look good in just about anything. When you’re ready to “graduate” you can try experimenting with some flower arranging tools like floral foam, flower tape (to create a flower grid) and wire. We used some wire to manipulate the daisies and it was the coolest trick ever.
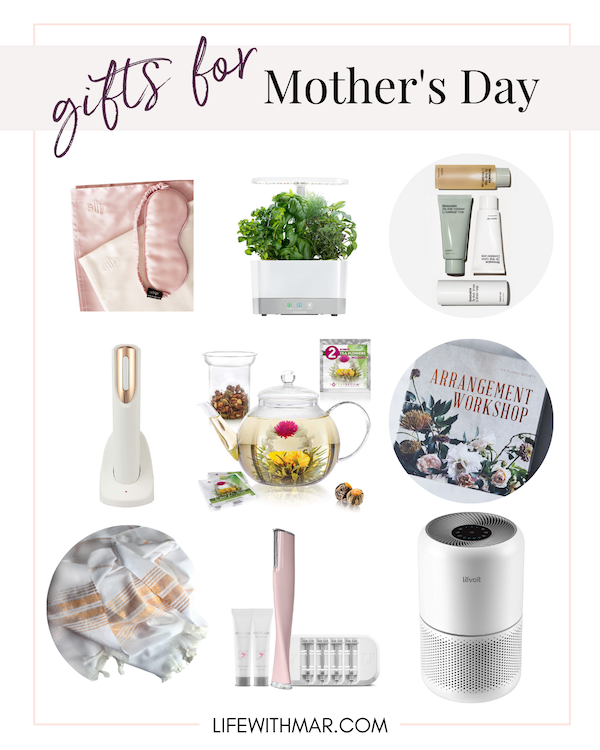
Shop the Post

Photos by Jacqueline’s Wonderland

Do you arrange your own fresh cut flowers at home? What tips do you have?


Amazing tips! Loved this workshop. Your arrangement turned out beautiful!
Your arrangement turned out so lovely! And that baby bump is the cutest! Nice job girlie. xo, Megs
Oh yay you linked the clippers. I need to get some for my house. Your arrangement looked great!
Great job! You sure paid attention in class, your flowers are lovely!
Truly,
-Ney
I love all of the tips you shared! Thank you for the reminders.